
- April 25 2024
- 7 min read
Building a Waitlist in WordPress: A Simple Step-by-Step Guide
Launching a new product or service can be as nerve-wracking as it is thrilling.
But imagine if you could build anticipation not just with a single announcement, but by nurturing a community thirsty for what's next, eager for early access.
Enter the all-powerful, often-underestimated waitlist form.
For online businesses, the waitlist form isn't just part of the playbook; it's a game-changer for product launches, providing a direct line of communication with an eager audience.
A practical 'waitlist form template' can help businesses create an engaging landing page for upcoming product launches, encouraging prospective customers to share their contact information and preferences.
In this guide, we'll show you how to set up a waitlist form on your WordPress site, providing tips to attract, inform, and expand your customer base for your upcoming product launch.
Understanding the Importance of a Waitlist
Before we dive into the "how," it's crucial to understand the "why."
A waitlist on your landing page does more than just collect emails; it helps collect information from interested users, creates a community of interested users, generates buzz, and provides a direct communication channel to your most engaged customers.
By leveraging the right features on your landing page, you can turn this list into one of your most valuable assets.
Key Features Your WordPress Waitlist Should Have
When designing your waitlist form, incorporating these features will ensure you not only gather data but also engage and excite your audience for your product launch.
Collecting relevant information through your waitlist form is crucial. This ensures you gather essential personal details, enhancing the functionality of your reservation and waitlist registration processes.
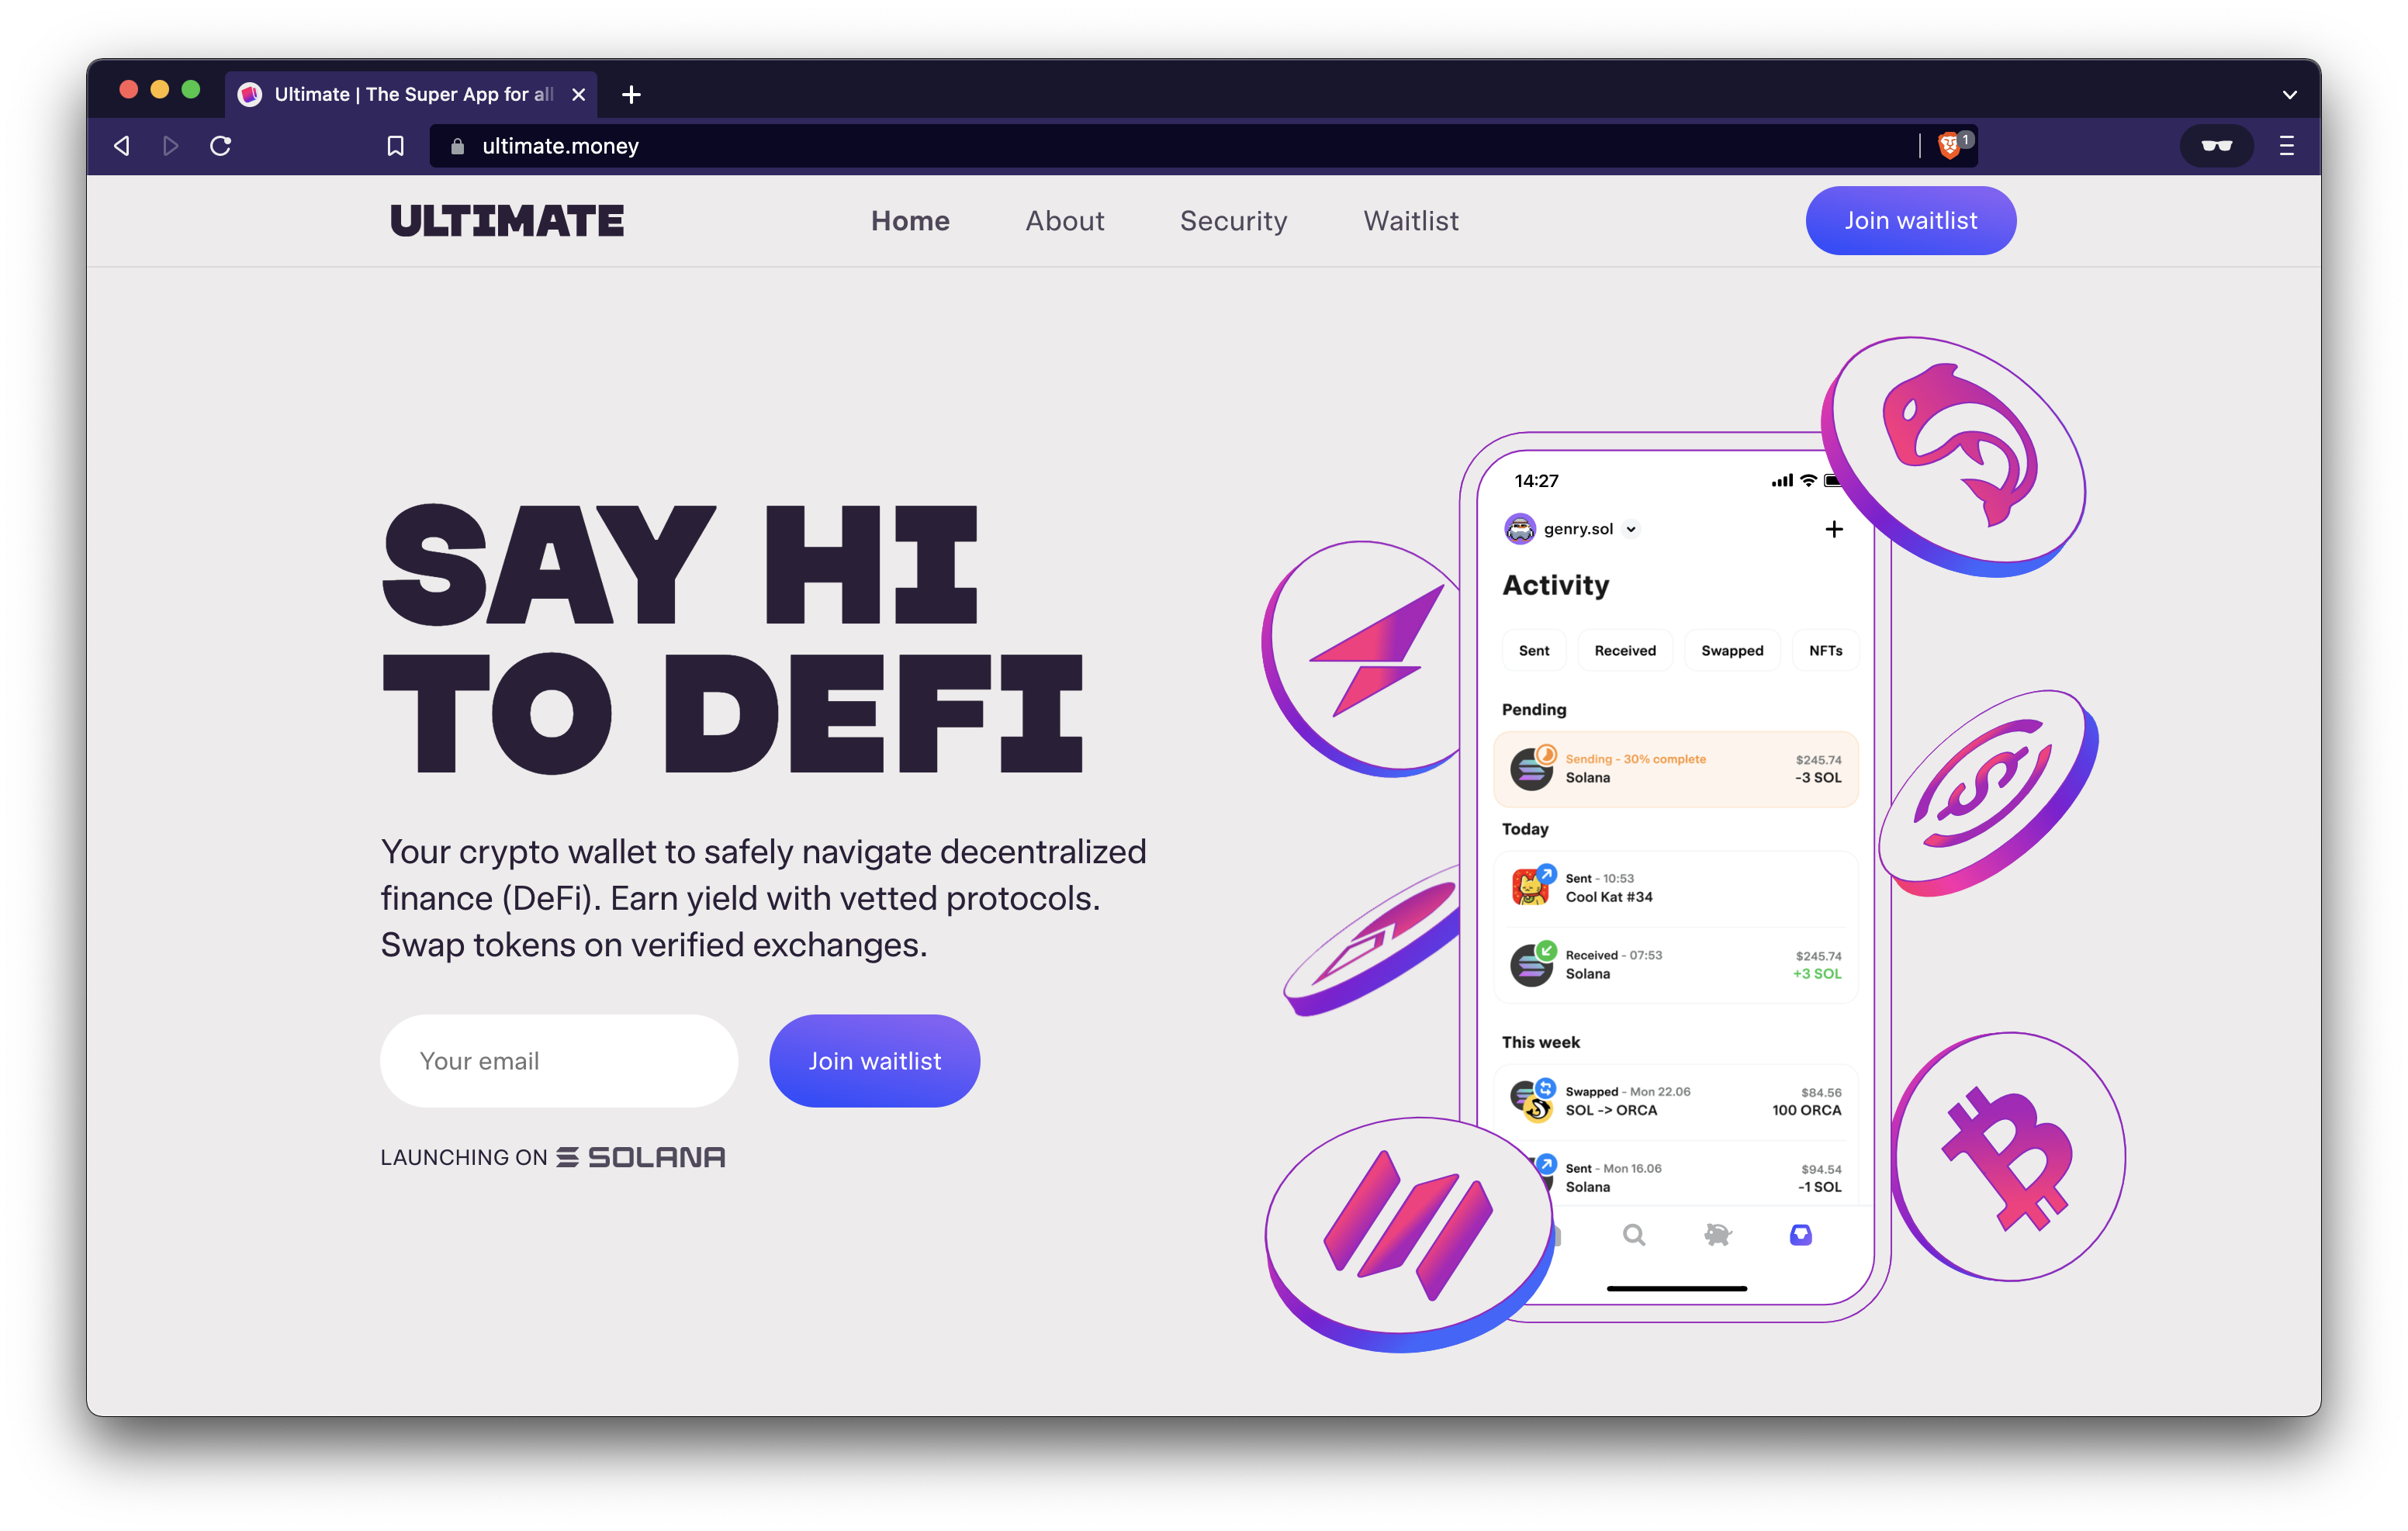
1. Clear Value Proposition
Center your landing page around detailing your product or service. Clearly convey the what, how, and why behind your proposition.
Use a headline, sub headline, and several bullet points to spotlight distinctive attributes or advantages for the user. Complement these with an engaging visual.
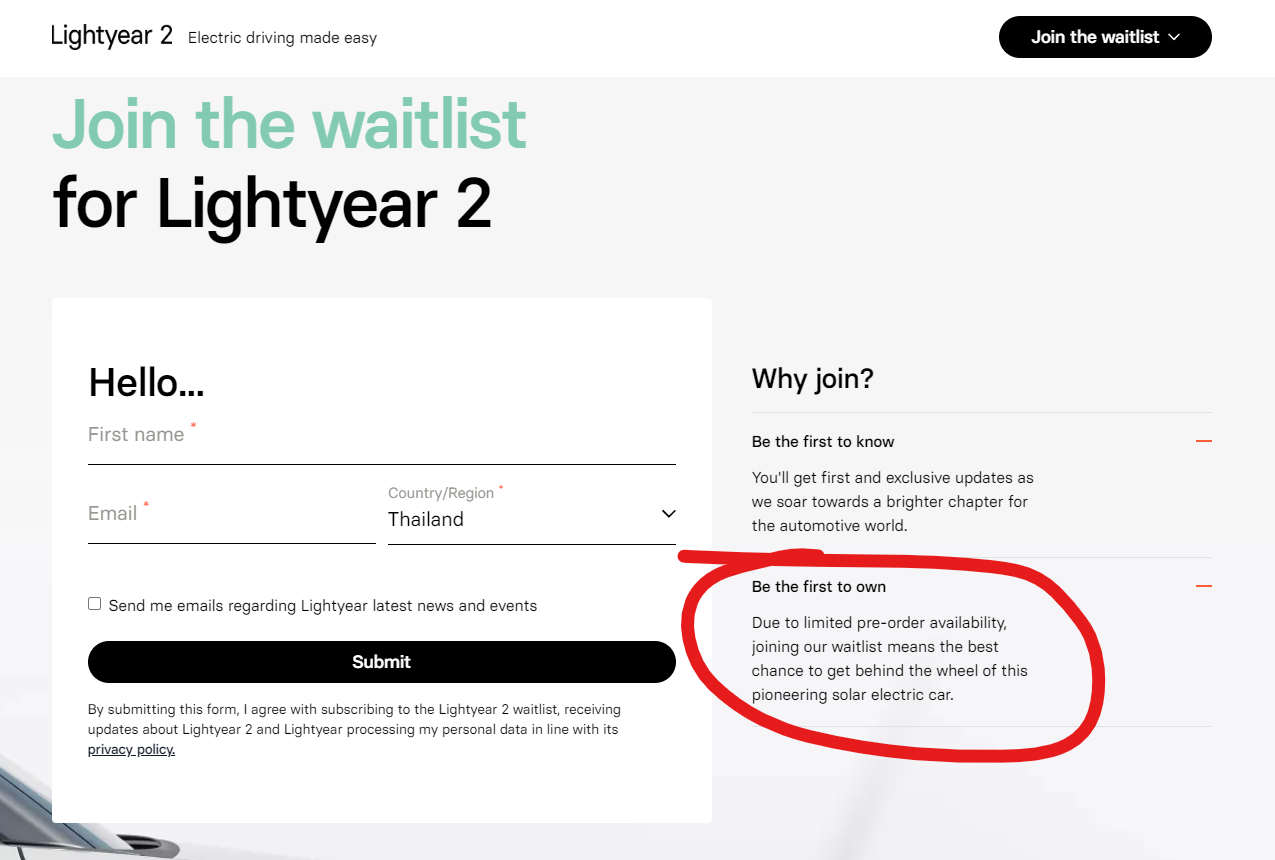
2.Compelling Waitlist Offer
Highlight the advantages of getting on your waitlist, such as early access, discounted pricing, or unique benefits. Try to make joining feel like a special opportunity, not just another step in the process.
As per HubSpot's state of marketing report, 94% of marketers agree that personalization enhances sales, indicating that tailored offers for those on the waitlist can significantly improve sales and conversion rates.
3. Powerful Images
Use good images or videos related to what you're selling. They should grab attention and show why your product is valuable. A picture can say more than words.
Keep in mind, a picture can often convey more than words can.
4. Clear Call to Action (CTA)
Your Call to Action (CTA) helps turn visitors into customers. Make it pop and clear, with phrases like "Join the Waitlist" or "Get Early Access".
Make sure your CTA button is visible and makes people want to click.
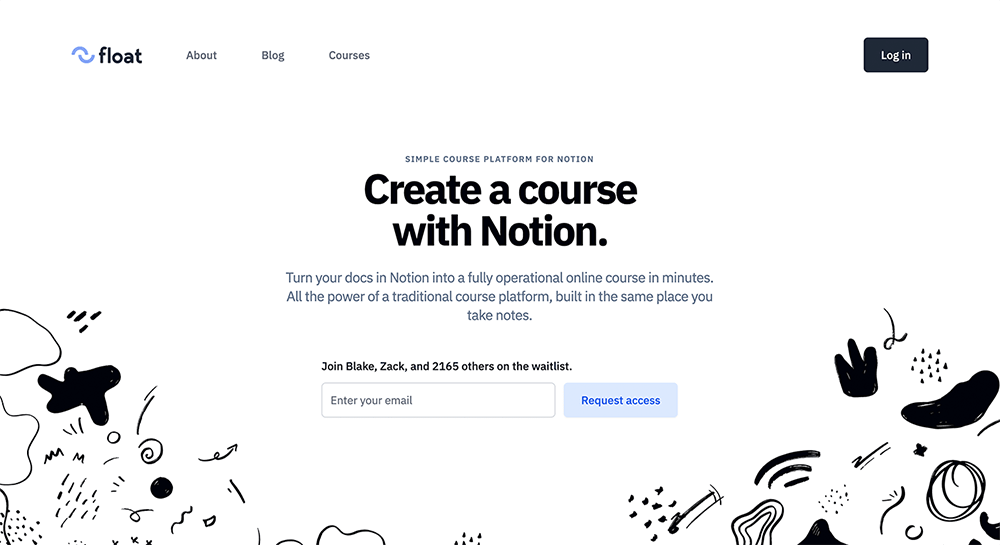
5. Social Proof
Increase your credibility with testimonials or user reviews, showing that people have benefited from your offerings. Add social sharing buttons to let visitors easily share on social media.
6. Create Urgency
Using a countdown timer or highlighting limited availability can make people signup faster by creating urgency, as most people don't like missing out.
7. Don't Complicate It
Ensure your registration process is simple, requesting only necessary details such as an email address. A straightforward form increases the chances of visitor sign-ups.

A case study in the Klaviyo Community demonstrates that simplifying signup forms and introducing a micro-commitment step can significantly enhance results. This approach resulted in a 60% increase in new visitor sign-up rates, demonstrating the effectiveness of a simplified signup process.
8. Thank You Page
Once users signup, lead them to a thank you page. This page will confirm their registration and inform them about the next steps, including when they can expect to hear from you.
A successful waitlist landing page is clear, simple, and emphasizes the value for the user, turning their interest into action.
Step-by-Step Guide to Creating a Waitlist Form in WordPress
1. Choosing a Plugin
Several WordPress plugins can help you create a waitlist form for your product launch
WPForms, Gravity Forms, and Ninja Forms are popular choices due to their ease of use, customization options, and the ability to easily integrate with established third-party applications like Google Sheets or MS Excel.
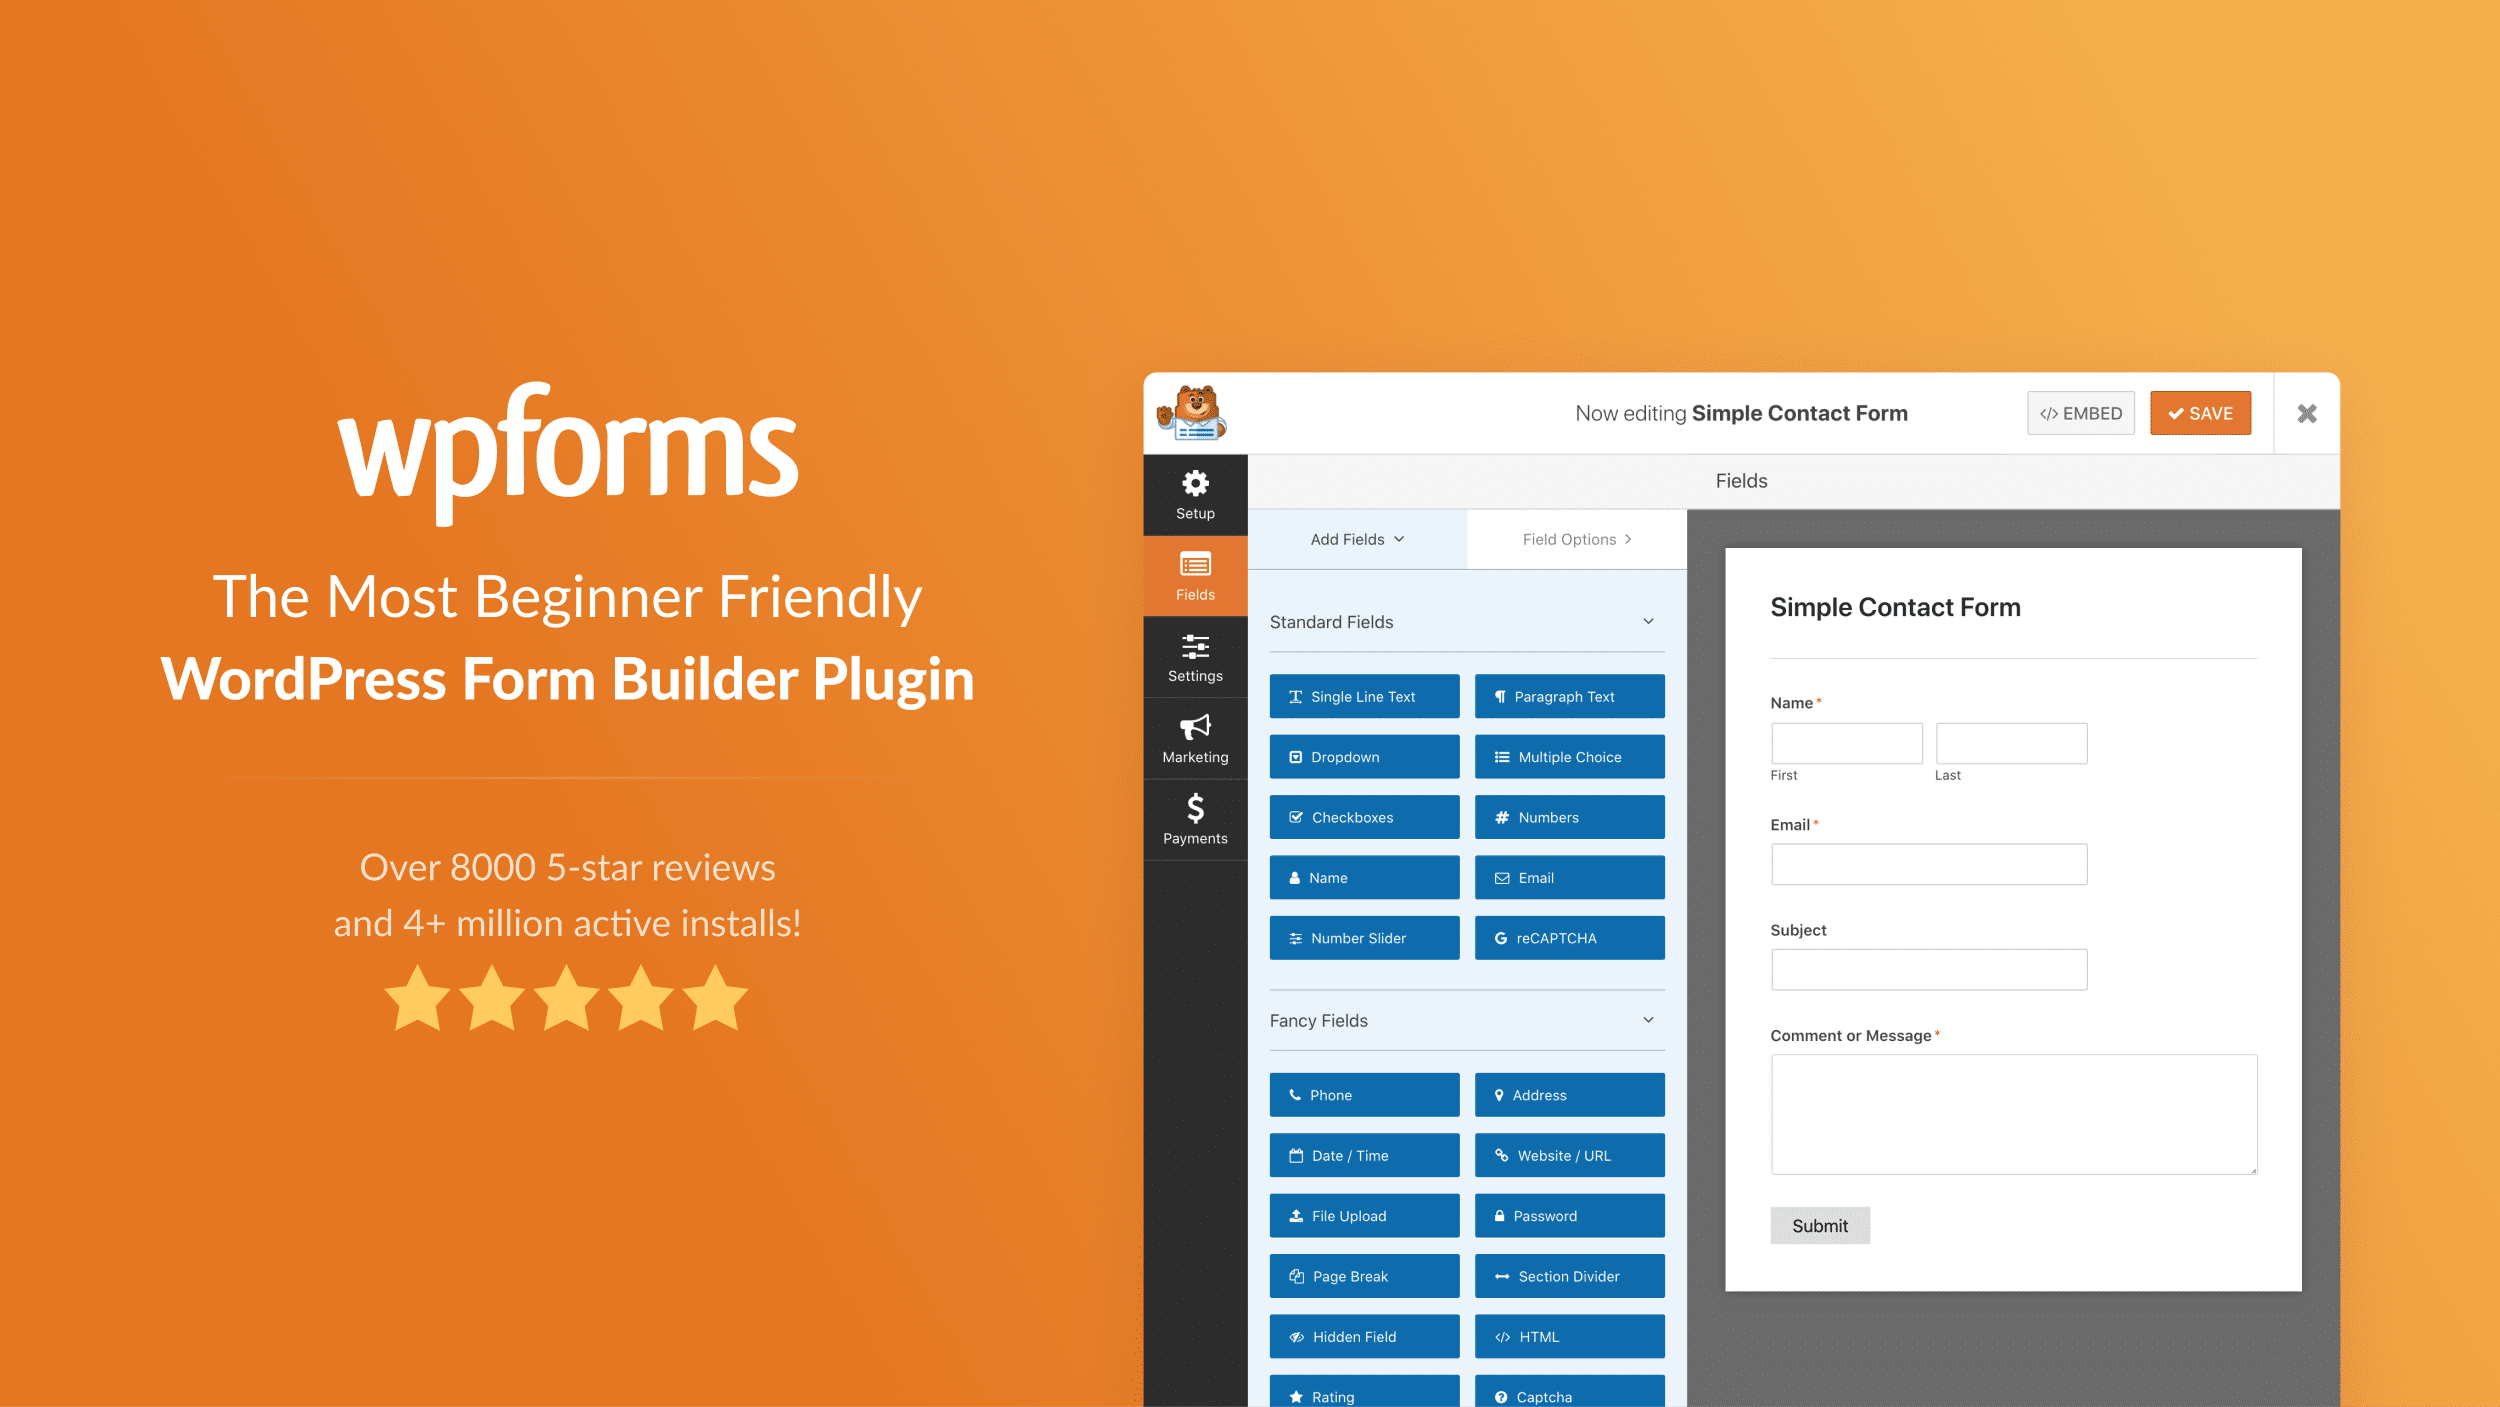
For this guide, we'll use WPForms due to its user-friendly drag-and-drop interface.
Step 2: Creating Your Form
- Install WPForms: First, install and activate the WPForms plugin on your WordPress site.
- Create a New Form: Navigate to WPForms in your WordPress dashboard and click 'Add New' to create a new form.
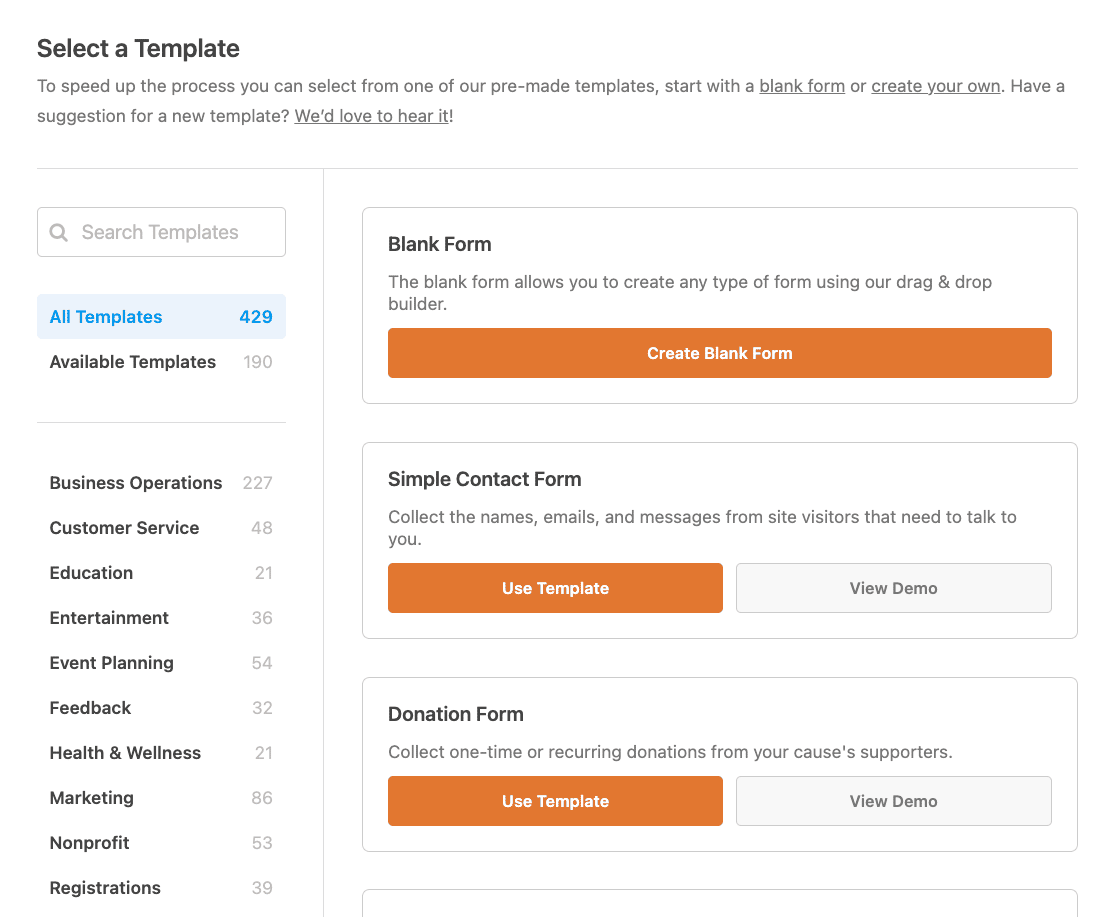
- Select a Template: WPForms offers various templates to get started. You can choose a simple contact form template as your base.
- Customize Your Form: Use the drag-and-drop editor to add, remove, or customize fields according to the information you wish to collect.
- Configure Notifications: Set up automated email notifications to confirm subscription and provide waitlist information by going to Settings > Notifications within the form builder.
Ready to create your first form?
Form customization for anyone -- simple and powerful.
Step 3: Adding Your Form to a WordPress Page
After you've set up and managed your waiting list form, it's time to make it accessible to your visitors by adding it to a WordPress page.
WPForms has a built-in Embed button that allows you to add your form on any website page without switching the tab or closing the form window. Here's how to do it:
- Navigate to your form: Go to your WordPress dashboard, and select your new form.
- Select Embed: In the WPForms form builder, select "Embed" button at the top.
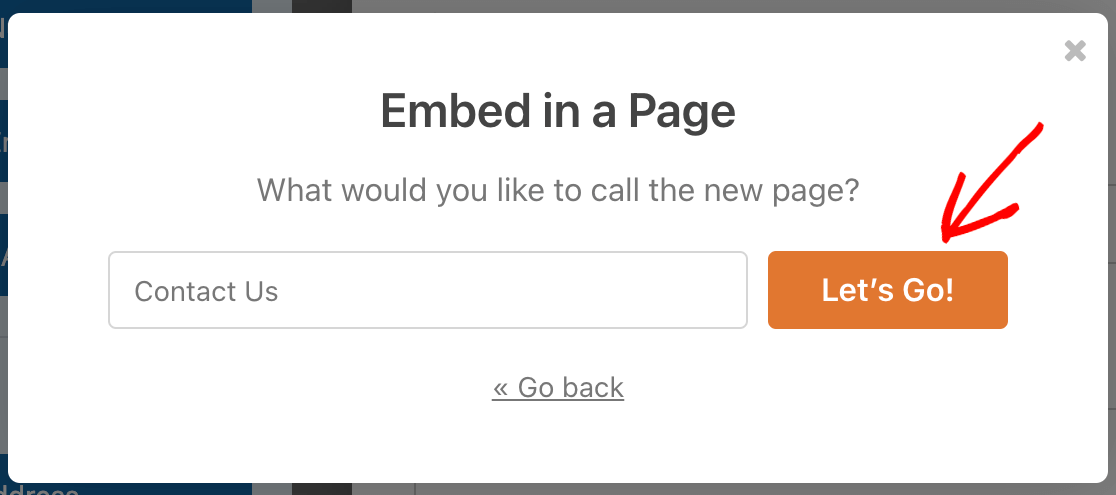
- Select a Page: Clicking the embed button will open a popup window with 2 form embedding options. You can choose between "Select Existing Page" or "Create New Page" (if you create a new page, you'll also need to enter a title for it).
- Complete the Form: Then click the "Let's Go" button. Your form will automatically be added to your page and all you have to do is click Publish or Update.
Your waitlist form is now integrated into your WordPress site, making it easy for visitors to signup and join the waitlist directly from the page.
Step 4: Manage Your Waitlist
Once your form is configured, follow these steps for managing waitlist registrations:
- Access Entries: WPForms stores every form entry in the WordPress dashboard, under WPForms > Entries. Here, you can view and manage your waitlist.
- Integrate a Dashboard Plugin: For more advanced management features, like a user-facing dashboard or segmentation, consider integrating with an additional plugin like UserMeta or Profile Builder.
Step 5: Advertising Your Waitlist
Once your waitlist form is live on your WordPress site, it's crucial to actively promote it to ensure your target audience is aware of it and encouraged to signup.
Here are several strategies to effectively advertise your waitlist:
- Social Media: Share your waitlist on all your social media platforms. Use engaging posts, stories, and even paid advertisements to reach a wider audience.
- Email Marketing: Leverage your existing email list by sending out an announcement about your waitlist. Highlight the benefits of signing up and provide a direct link to the form.
- Content Marketing: Write blog posts or create videos related to the theme of your waitlist. Include a call-to-action (CTA) that directs readers or viewers to sign up for the waitlist.
- Collaborate with Influencers: Partner with influencers who resonate with your target demographic. Their endorsement can drive significant signups.
- Leverage SEO: Optimize your waitlist landing page for search engines to attract organic traffic. Use relevant keywords and provide valuable content that ranks well.
- Host Webinars or Live Events: Conduct online events that provide value to your audience. Use these events as an opportunity to promote your waitlist product launch.
By using these tactics, you can significantly boost the visibility of your waitlist and encourage more signups, helping to ensure the success of your product launch or event.
Step 6: Analyze and Act on Your Data
Finally, use WPForms' built-in analytics or integrate with external analytics tools to monitor the performance of your waitlist form.
This valuable data can play a crucial role in informing key decisions related to marketing strategies, guiding the development of new products, and determining optimal product launch timelines.
Leveraging this information effectively can aid in customizing marketing efforts, refining product features before release, and selecting the best times for product launches to maximize market impact and consumer engagement.
Conclusion
Creating a waitlist form on your WordPress site is a smart move that can greatly affect the success of your launch.
By following this guide and incorporating the essential features outlined, you'll be well on your way to building an engaged community eager for your offer.
Remember, the key to a successful waitlist is not just in collecting emails but in nurturing and exciting your prospective users every step of the way.
Happy Building!